| layout | title | subtitle |
|---|---|---|
home |
Rosmo |
Tortoisebot |
This document is based on the work of rigbetellabs it is adapted to use ROS2 on ESP32 and to have Open Robotic Platform mount holes.
Let's get started by laying out everything.
Note there are some changes to this version so the photos may not match exactly.
Make sure you have everything with you according to this table:
| Components | Description | Quantity |
|---|---|---|
| TortoiseBot ORP Chassis Plates | Order View/edit | 5 |
| BO Motor with encoder | 60 RPM motor & bracket | 2 |
| Motor Driver | Zio H-bridge Motor Driver | 1 |
| Olimex ESP32-S3 | For running MicroROS | 1 |
| BO Motor Wheel | 65 mm diameter, 25 mm thickness | 2 |
| Caster Wheel | bearing | |
| USB powerbank | battery case | 1 |
| 3x 18650 | Batteries | 1 |
| USB > Motor driver cable | JST cable | 1 |
| PCB or Breadboard | PCB to break out ESP32 Breadboad (if you don't have a PCB to break out ESP32) | 1 |
| 2.54mm screw terminals for breadboard/ PCB | For connecting encoder | 4 |
| Qwiic cable | For connecting ESP32 | 1 |
| Hex Spacers | 45mm height M3 standoff | 18 |
| M3 10 mm Bolts | Bolt pack | 40 |
| M3 25 mm Bolts | From Bolt pack | 4 |
| M3 Nuts | From Bolt pack | 44 |
| M3 Washers | From Bolt pack | 4 |
| M2 10 mm Bolts | From Bolt pack | 2 |
| M2 Nuts | From Bolt pack | 2 |
| Screw Driver | 2 in 1 Flat and Philips Head Screw Driver with Tester | 1 |
| Optional IMU | MPU6500 or BNO085 | 2 |
| Optional LD19 LiDAR Kit | LiDAR module, USB Cable and Data Convertor Box | 1 |
Note this is a work in progress, some of the photos and instructions need updating for the new BOM & ESP32 based control
Take the following components:
- M3 10 mm Bolts x 2
- M3 25 mm Bolts x 2
- M3 Nuts x 2
- BO Motor Bracket x 1
- BO Motor x 1
Please note to take the BO Motor, whose shaft points in the left direction when the 2-way-tape is facing downward and the wires are pointing you. Refer to the picture below. This is your Left Motor.
Now attach the Motor Bracket on the flat side of the motor in a way that the screw holes are facing outwards and at the bottom side and also the holes of the motor align with the farther most holes of the motor brackets. After that put the 10 mm M3 bolts in the bottom holes. Do not tighten these bolts with nuts yet.
Now thread both the 25 mm M3 bolts from the outer end (from the side where there is a shaft) of the motor and attach them with nuts on the other end. Repeat the procedure for the other motor as well. So now you have two motors with the shaft facing outwards and screw holes facing inwards and the 2-way-sticking tape facing downwards.
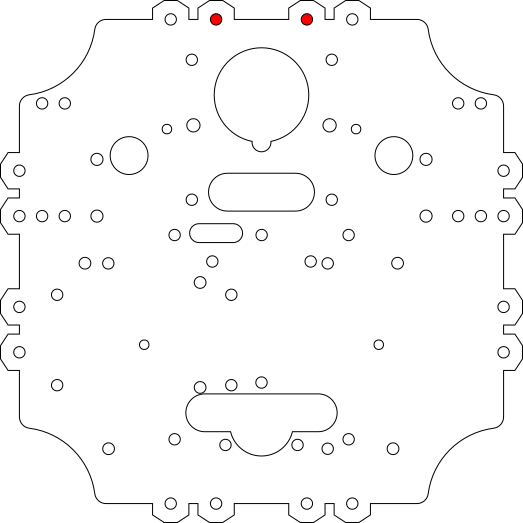
Now take one of the Chassis plates and place it in the following orientation. The Top is the Front of the Robot and your right and left are the right and left of the robot respectively.
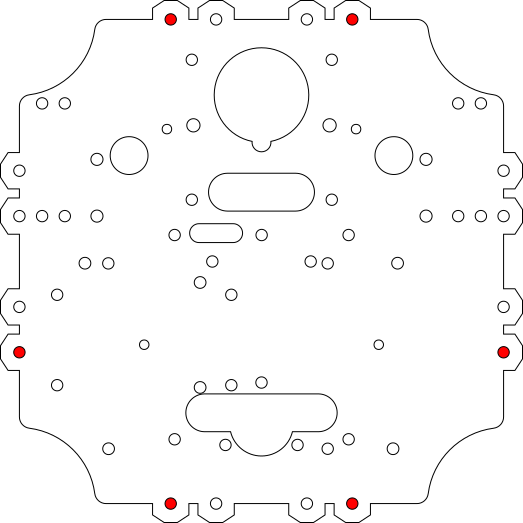
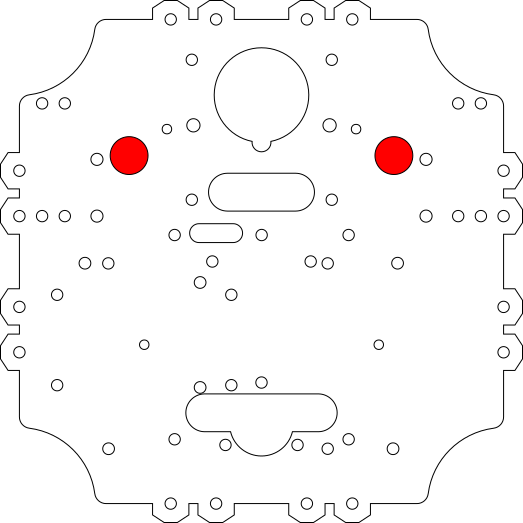
Now use the red highlighted holes and put the 10mm M3 bolts through them and tighten them with nuts from below. You can also remove the double-sided tape cover and use it to secure your motors in place for additional strength. If you are facing any problem in building your robot, you could Join our Discord Community and ask your doubts or questions over there. Our community will be there to help and guide you through the complete process.
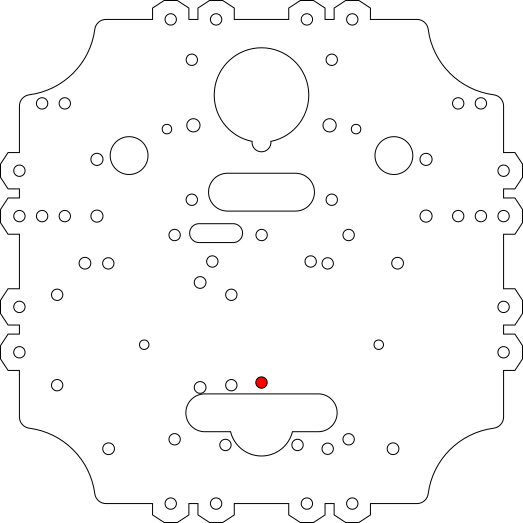
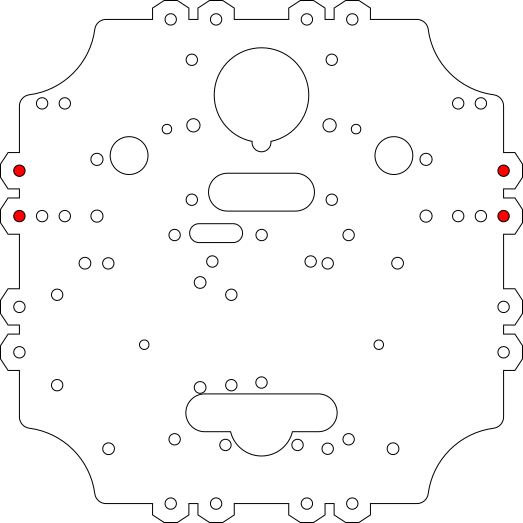
Take the caster wheel, remove the plastic covering, and using a pair of nut and bolt, fix it in the highlighted hole from the bottom side. You can use more than one nut and bolt to secure it in place, but one is more than enough
Now you can attach wheels to the motors after which take 6 Hex spacers along with 18 nuts and fix them in these highlighted holes. Also, you can attach the battery in the centre using double-sided tape.
With this you have the base of your TortoiseBot ready!
Now let's make the Heart of our Robot. The place where the blood (electrons) are pumped all over our TortoiseBot's body. the USB powerbank will give power to the motor driver and ESP32.
Here we have the Motor Driver and the powerbank. Take another Chassis plate and keep the orientation the same as the previous one. Also have the Zio Motor Driver, If your using one also the Data Convertor from LiDAR. You can disconnect the wire from LiDAR as we will attach it later.
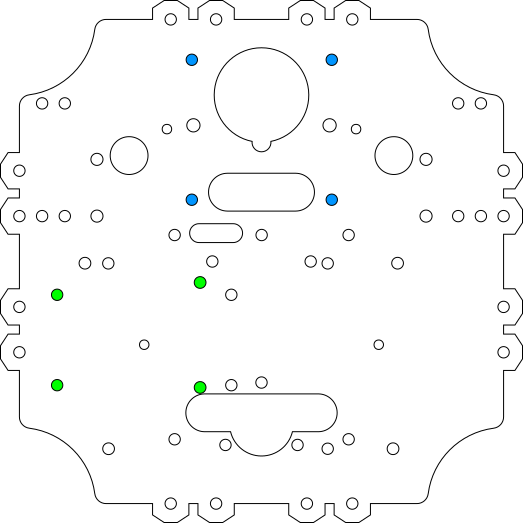
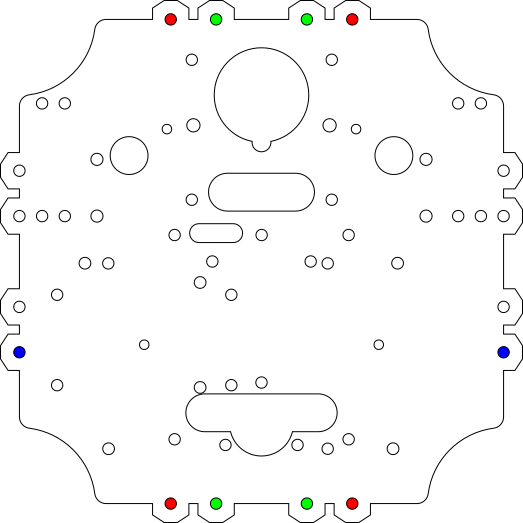
Once you have it all, you can attach Motor Driver and LiDAR Data Converter Module each with 4 pairs of nuts and bolts through the blue and green highlighted holes respectively. Make sure the heatsink of the motor driver is facing the front link in the picture while attaching. Similarly, while attaching the LiDAR data convertor, the wires should be on the top side and the USB ports should be facing you on the backside of the robot. Also, you can fix the USB Power Module Simply with Double-sided tape on the given position.
``
Make sure your connections are proper. If you are facing any problem in building your robot, you could Join our Discord Community and ask your doubts or questions over there. Our community will be there to help and guide you through the complete process.
Now take the base of the robot and the plate you made just now and place them second above the first one. While placing it, make sure you pass the motor wires from the highlighted holes. Left hole for left motor wires and right hole for right motor wire. Don't bolt the plate down yet.
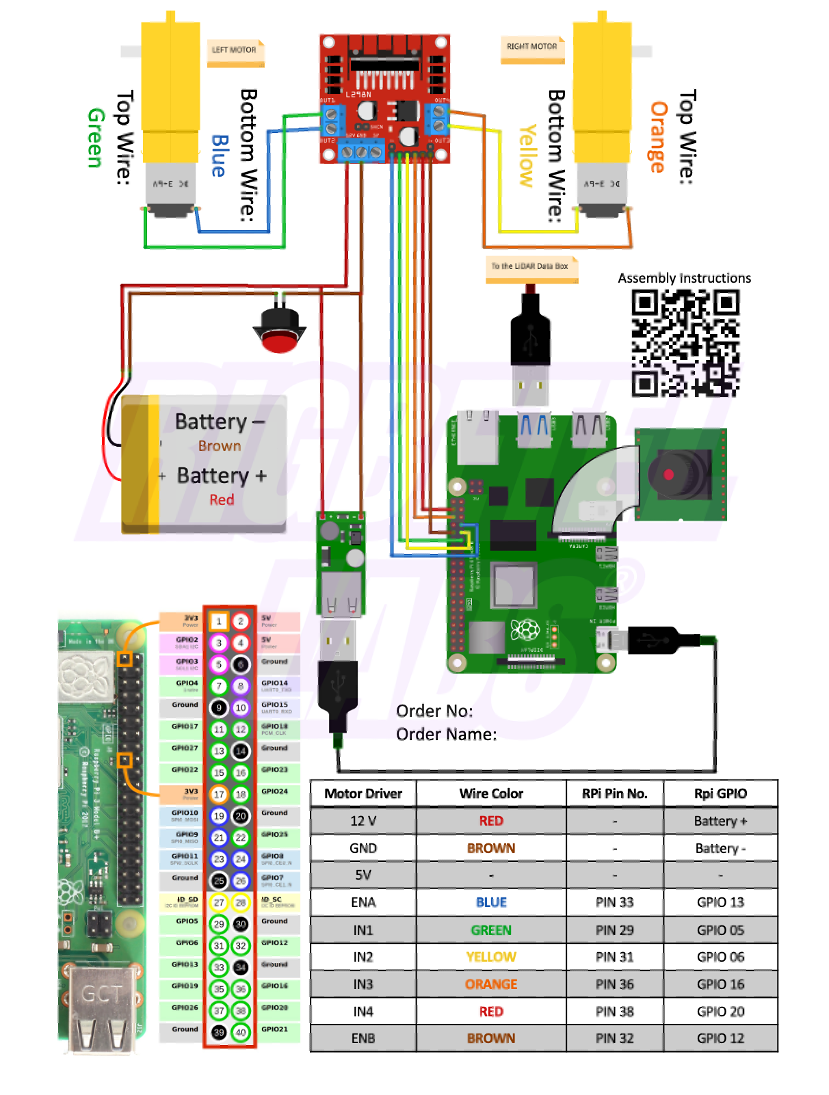
Now, look at the wires of your Left Side. Make a note of which coloured wire is at the top and which one is at the bottom. You should also be able to see this written on the info that came with the motor. In this case, for the left motor, our bottom wire is RED and the top wire is GREEN. So keeping that in mind, we will connect our top wire (GREEN) in the front of the motor driver (towards the heatsink) and the bottom wire (RED) towards the backside (near other connection points). Refer to the images below and the connection sheet provided with your kit. Please make sure these connections are made properly or else your Robot will not move in the expected directions. Similarly, if we have a look at our motor on the right side, the top wire is RED in this case and the bottom wire is GREEN. So again we will connect the top wire (RED) towards the side of the heatsink and the bottom wire (GREEN) towards the connection side. Note to cross-check the connections. This is the most important step of building the robot.
After that use, the RED highlighted holes to bolt down the spacers and use the BLUE highlighted holes to add more spacers on top of the existing spacers through the TortoiseBot Chassis Plate like in the picture. Also, use the GREEN highlighted holes to add more spacers which you can tighten with nuts from the bottom.
Finally, for stage number 2, connect Qwiic cable to the motor driver's pins,
This is the easiest layer to assemble.
Attach the ESP32 to the breadboad. Now place this breadboard on top of your assembled robot and pass the LiDAR Data Wire from the GREEN highlighted hole and all other Jumper Wires ( 7 in total ) from the BLUE highlighted hole. And finally, bolt it all down using the RED highlighted holes.
Use the USB A to USB C cable to connect the powerbank to the ESP32. You can pass the wire through the inside of the spacers in order to keep everything clean and no wires hanging around.
Lidar detail to go here
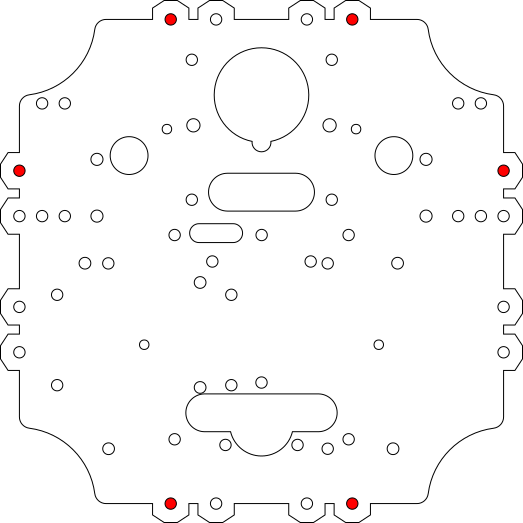
Now take 6 Pairs of Nuts and Spacers and attach them through the RED highlighted holes.
Grab the final plate. This is where we will be attaching all our sensors i.e. LiDAR and Camera. So to attach that, also grab the 3D Printed Camera Mounts. Both of these parts are different. So don't get confused between them. The one with the flat base will be referred as Camera Mount Top and the one with a step-like structure will be referred as Camera Mount Bottom. The Camera Mount Top is attached to the Plate and the Bottom will be connected to the Camera.
Now use the RED highlighted holes to assemble the Camera Mount Top to the Chassis Plate at its underside using 2 pairs of nuts and bolts. Refer to the picture for more clarity.
Now take the Bottom Camera mount and Raspberry Pi Camera and fix them together using M2 Nut and Bolts. The Small ones. I am using a self-tapping screw here, but along with your kit, you might have got nuts and bolts. So use that to secure the camera in place. The step-like design is to accommodate the ribbon cable connector of the camera. So make sure it is flushed while attaching.
Now attach both the Camera Pieces together with a pair of M3 nut-bolt. You can also use pair of washers on both ends to make the joint firm and adjustable at the same time.
Take the rest of the assembled Robot, and attach the Raspberry Pi Camera to Raspberry Pi using the ribbon cable. Make sure the connections on the cable are facing away from the USB ports. Once that is done, you can place the plate on the robot and take the LiDAR wire out of the big circular hole as shown in the picture. And then bolt the spacers down with M3 10mm bolts through the RED highligted holes.
Now take the LiDAR and attach the LiDAR cable to its bottom as shown in the image. Then pass the wire through the small notch around the circle and then pass the LiDAR motor through the big hole and making sure the wire is passed through the notch properly. Take 2 more pairs of nut bolts and use them to secure the LiDAR in place.
Once you are done with assembling the robot, you could start Setting up linorobot so that it could connect to your Local Wi-Fi and you could start coding it using ROS
