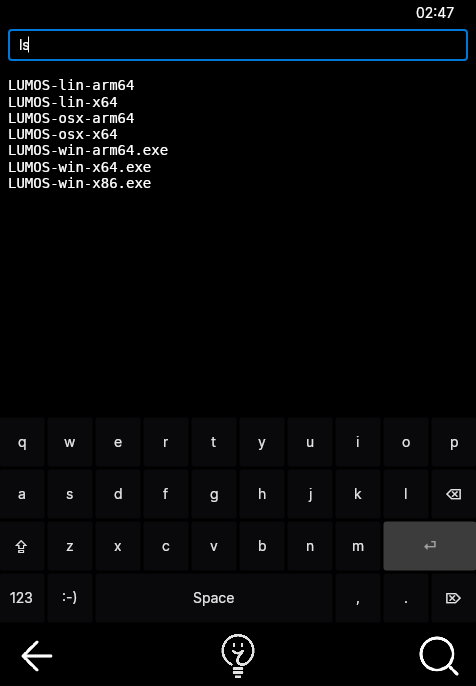
LUMOS is a mock operating system that can be utilized to limit a system to its purpose(s) to enhance the end-user experience. LUMOS can be deployed as a supplement for systems heavily relying on users opening or using specific tools on a Windows, Linux or MacOS machine.
Navigate to the releases tab, i.e. Releases
From here you can download LUMOS for Mac OS, Windows, Linux.
Launch the executable to display LUMOS, it should work out of the box.
If you are using Mac OS it might be reported that opening the application is not possible, due to not having the permissions or the binary would be corrupt. This can be resolved by opening terminal and executing the following command:
xattr -d com.apple.quarantine /path/to/LUMOS
The Linux application be started by performing:
chmod +x LUMOS-lin-x64
./LUMOS-lin-x64
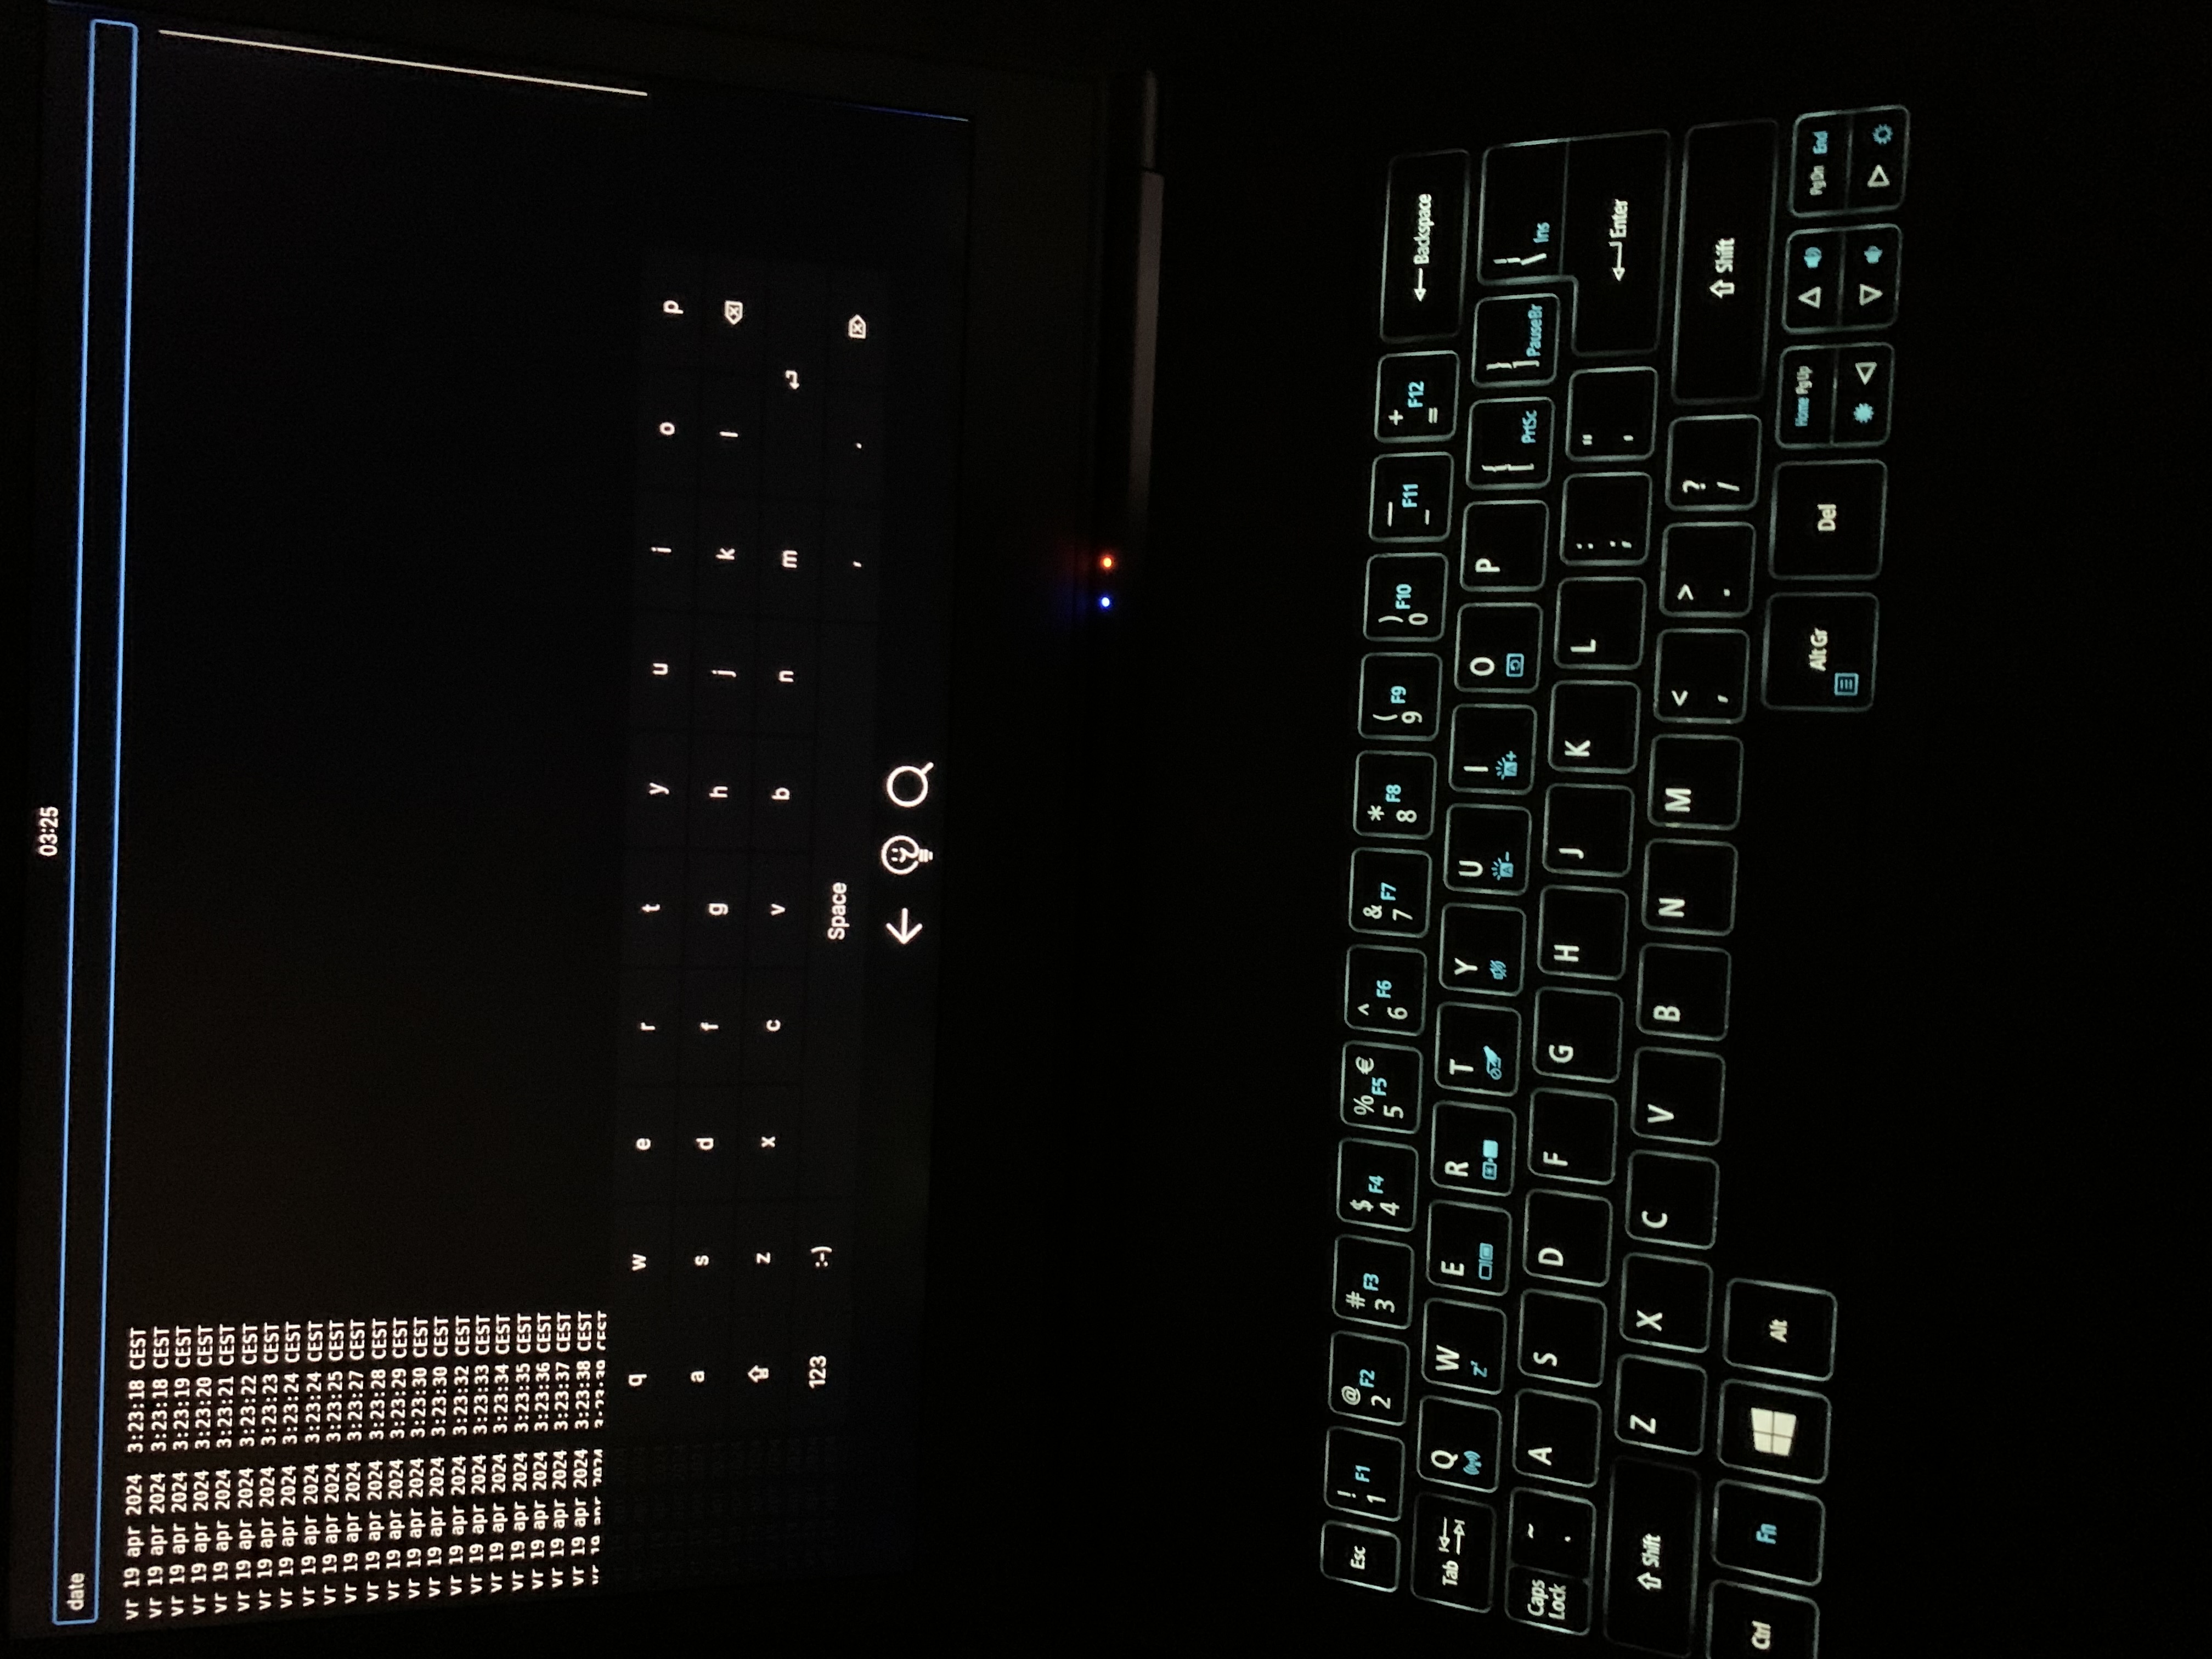
The application supports two alternative run modes by appending an argument for the binary.
(no arguments): Run inside a window (default)--fsl: Lock the application in maximized fullscreen (immersive)--drm: Direct Rendering Manager (display directly into framebuffer, no touch or cursor at the moment!)
Especially for --fsl modes it seems appropiate to automatically start the application on after the operating system has booted. This introduced a new edge-case where exiting the application upon maintenance or checks could prove problematic. As an alternative exit mode a terminal command LUMOS_EXIT was added. This will shutdown the application regardless of the launch argument.
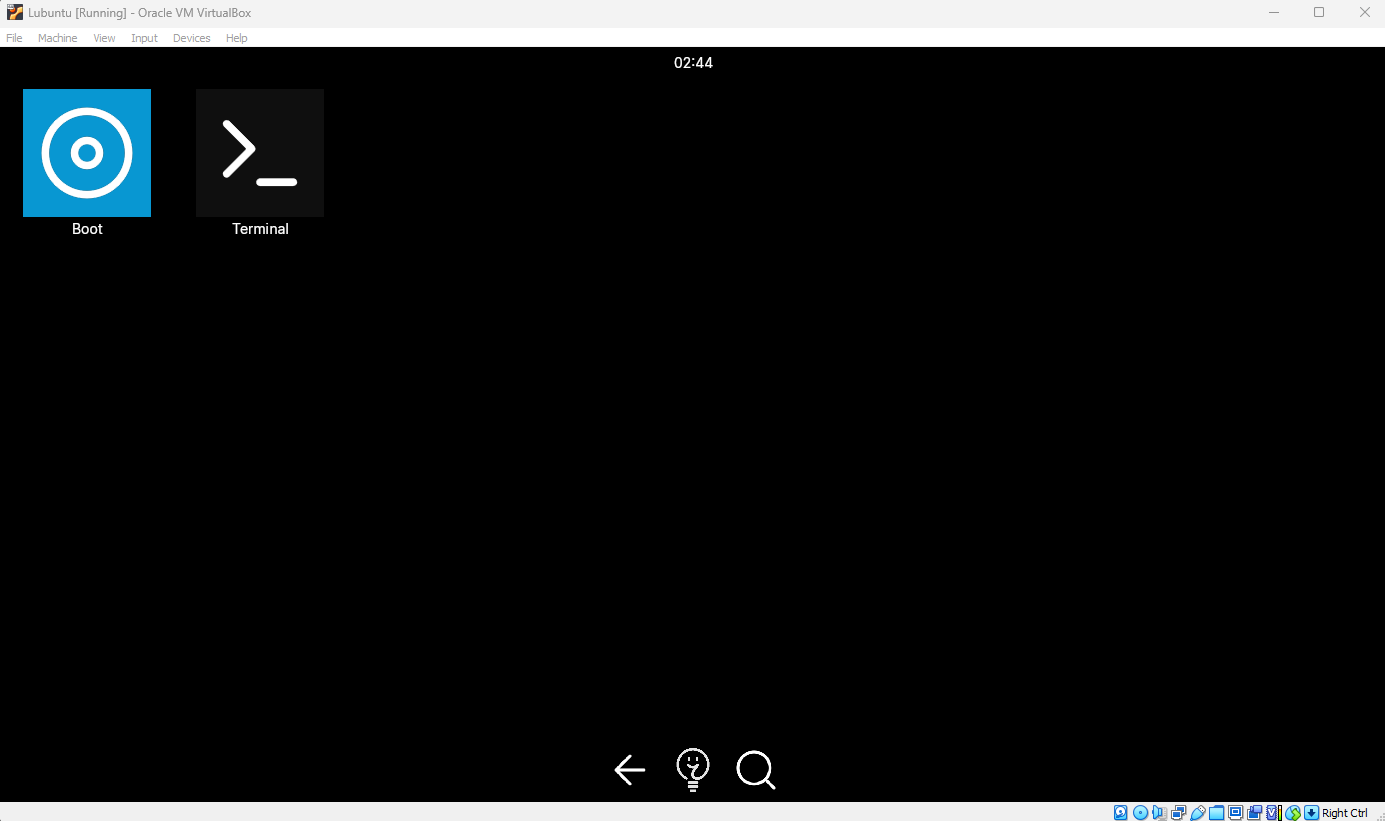
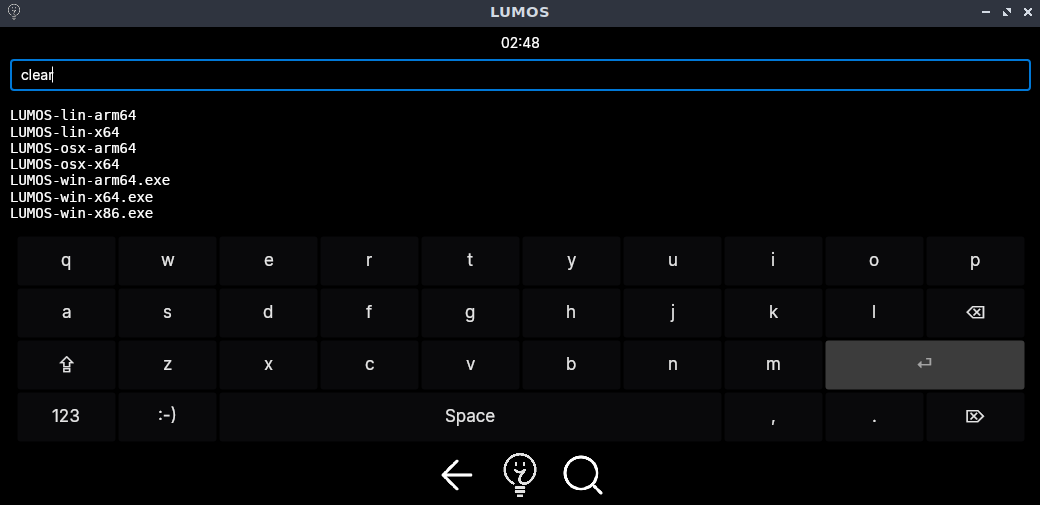
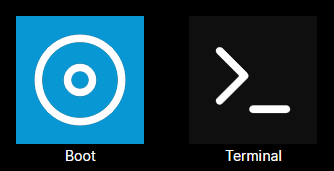
Two applications are included. A boot animation is added as an app Boot, to display how the API can be used to continuously write updates for displaying the application. The second application is a terminal program Terminal that is a suitable example for showing lifecycle management related to opening, hiding or closing the application, and interfacing with an API unrelated to LUMOS.
Originally the idea was to create a microservices architecture communicating via IPC (Named Pipes) for higher maintainability. However, this introduced multiple (OS-specific) challenges that, after careful consideration, would greatly improve complexity. The solution builds to a single process, with a limited overall source code quantity. As a tradeoff, this means that building or expanding the current solution will require to (re)compile and (re)deploy after each source code update.
The software is split-up into different modules based on their purpose.
| Module | Description |
|---|---|
| 📱 Apps | Launcher apps |
| 🗂️ Assets | Resources |
| ⌨️ Keyboard | Soft-keyboard for input |
| ❤️ Liv | Lifecycle management |
| 🧭 Navigation | Soft-keys for navigation |
| 🔔 Notification | Status / notification bar |
| 🖥️ UICat | UI-engine for displaying |
These modules are represented as folders inside the solution containing interfaces.
A requirement for applying LUMOS is that the workflow can be automated by an API or DLL. By creativily calling your API or (CLI) tools in the LUMOS C#-backend you can integrate almost any back-end driven by user actions in the launcher. The front-end of LUMOS is build upon Avalonia UI and suitable for most applications limitedly relying on performance.
Create a new folder below the Apps module and add a class for your own project here. Your app should inherit from the LauncherApp base class. The quickest way to do this is by simply copying the Boot applications folder and renaming the copied class Boot.cs to your own project name. You can now adjust the _uuid, _name and _icon to values appropiate for your app.
The next step is to register your application, this is required for launcher to find and display it. This can be initiated by adjusting Lumos.cs. The constructor contains the creation of a list launcherApps. Add your new application to this list, as done for Boot and Terminal.
Boot boot = new(_appManager as IDisplayManager);

List<LauncherApp> launcherApps = new();
launcherApps.Add(boot);
launcherApps.Add(new Terminal(_appManager as IDisplayManager));

boot.Start();
If you do not want to display your application in the launcher, you can refrain from adding the application to the list. Instead calling the method LauncherApp.Start() should suffice for immidiately displaying your application, regardless of inclusion in the launcher (as also done for the Boot application).
To adjust behaviour the interfaces relating to modules can be adjusted or expanded. Some interfaces used to communicate actions to modules are displayed in the diagram below.
If you enjoy this software series, you could consider supporting me by purchasing application Colorpick - PRO. For a few dollars (depending on Steam pricing in region) you receive a DRM-free Colorpick application.

