-
Notifications
You must be signed in to change notification settings - Fork 2
Map4RDF Development Guide
This guide explain how to develop Map4RDF on eclipse.
- Install Eclipse
- Install GWT plugin
- Import the project
- Run GWT developer server
- Implements and use your own geometry model
The firts step is install eclipse.
Download from: http://www.eclipse.org/downloads/
Follow the next installation manual and install it: https://wiki.eclipse.org/Eclipse/Installation
Install GWT Plugin on Eclipse.
See Install Plugin section of the next page: http://www.gwtproject.org/usingeclipse.html

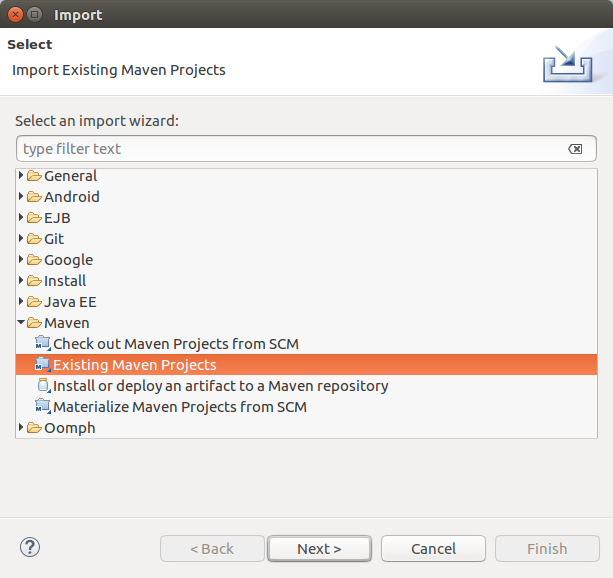
Go to "File" -> "Import" in the open window select "Maven" and click on "Existing Maven Project", on next step choose the root directory (where the pom.xml of map4rdf is located) and click finish.
The project is imported.
In this section will explain how to run the web application for developing it.
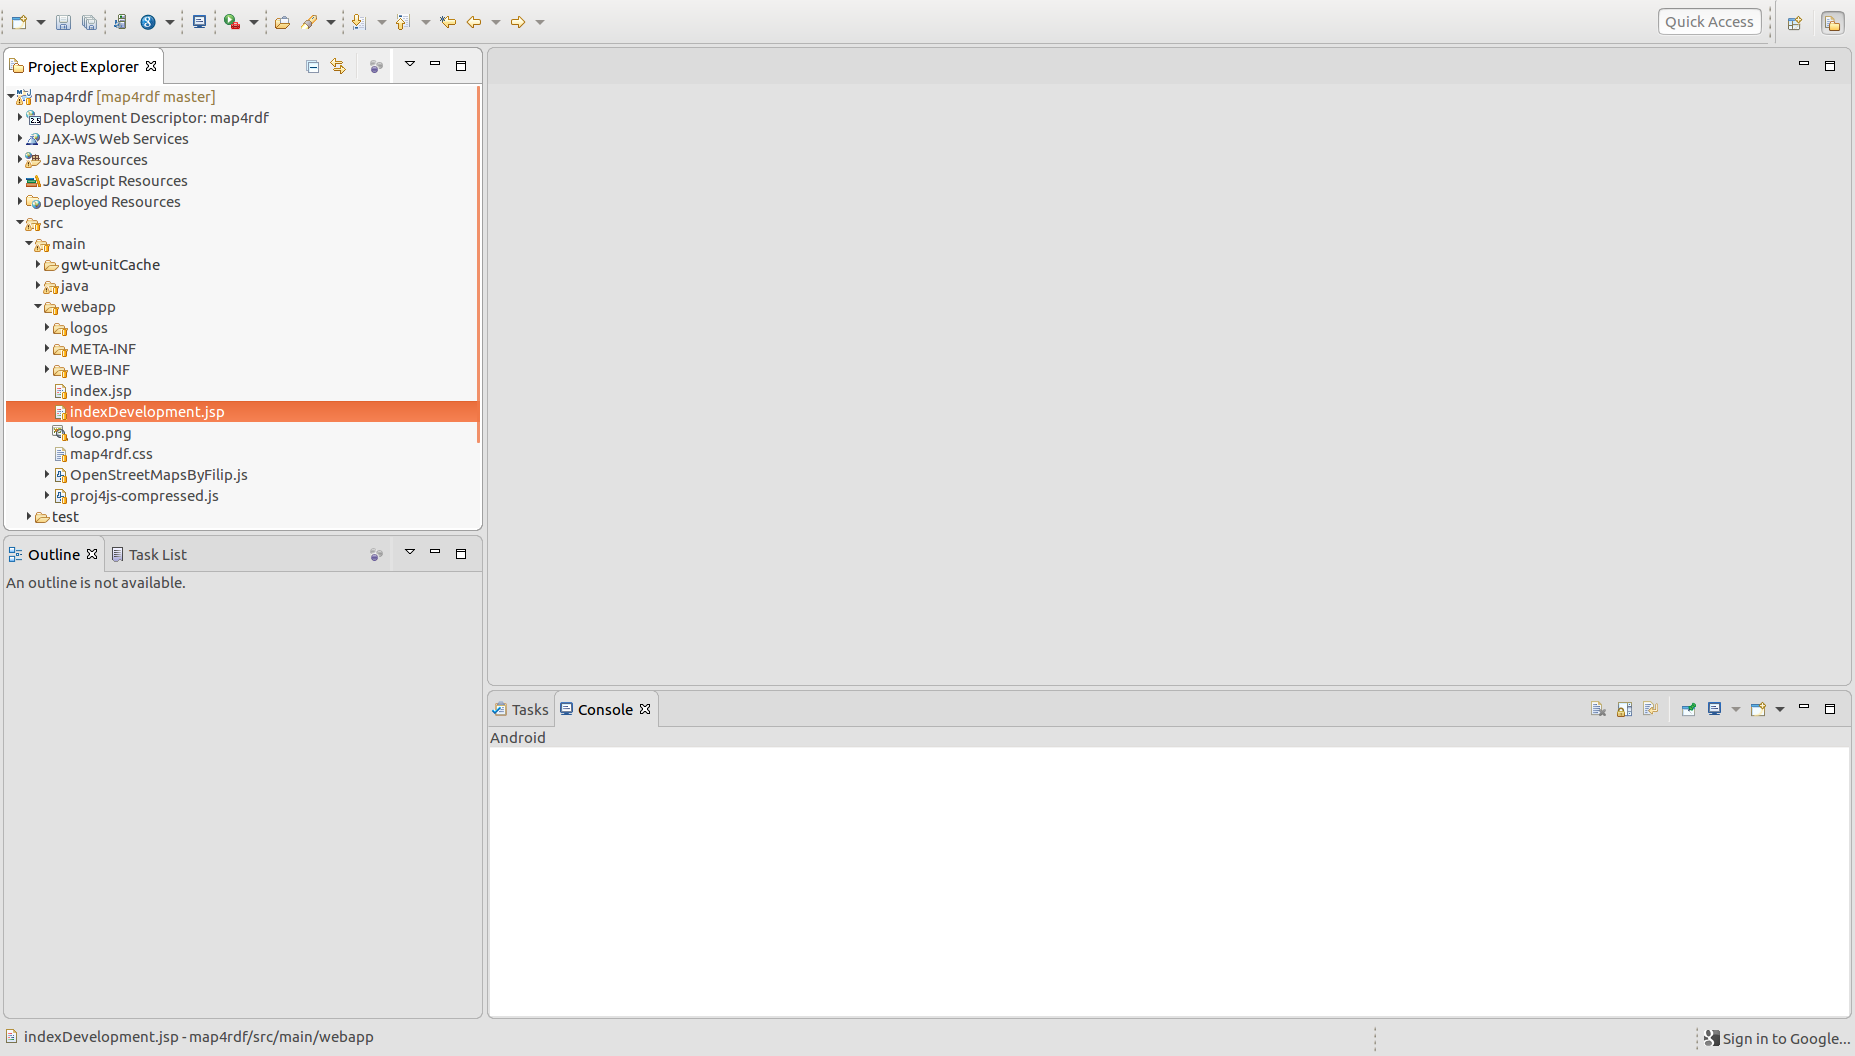
Navigate on project explorer "src" -> "main" -> "webapp" do right click on indexDevelopment.jsp and click on "Run as" -> "Run Configurations".
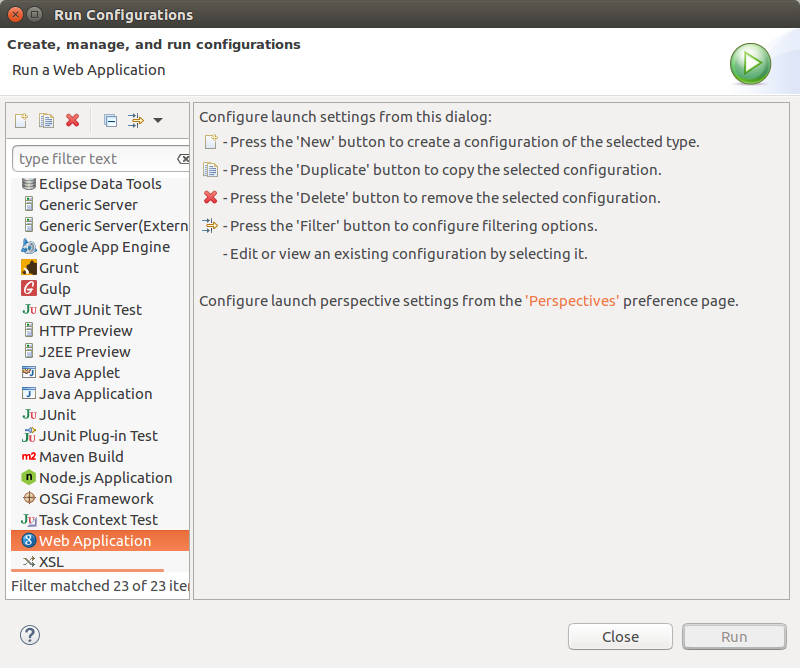
 In the open window do right click on "Web Application" -> "New".
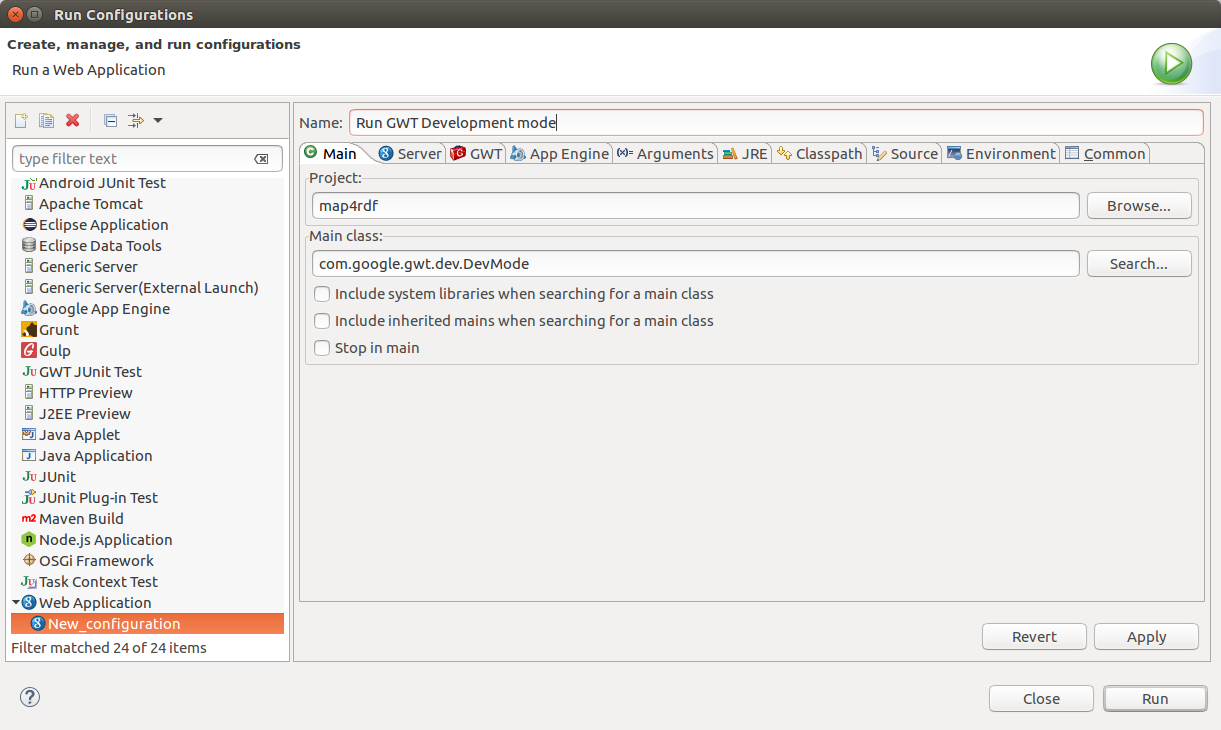
 On "Main" tab put the name that you want for identify this run configuration.
 On "GWT" click on "Super Development Mode".
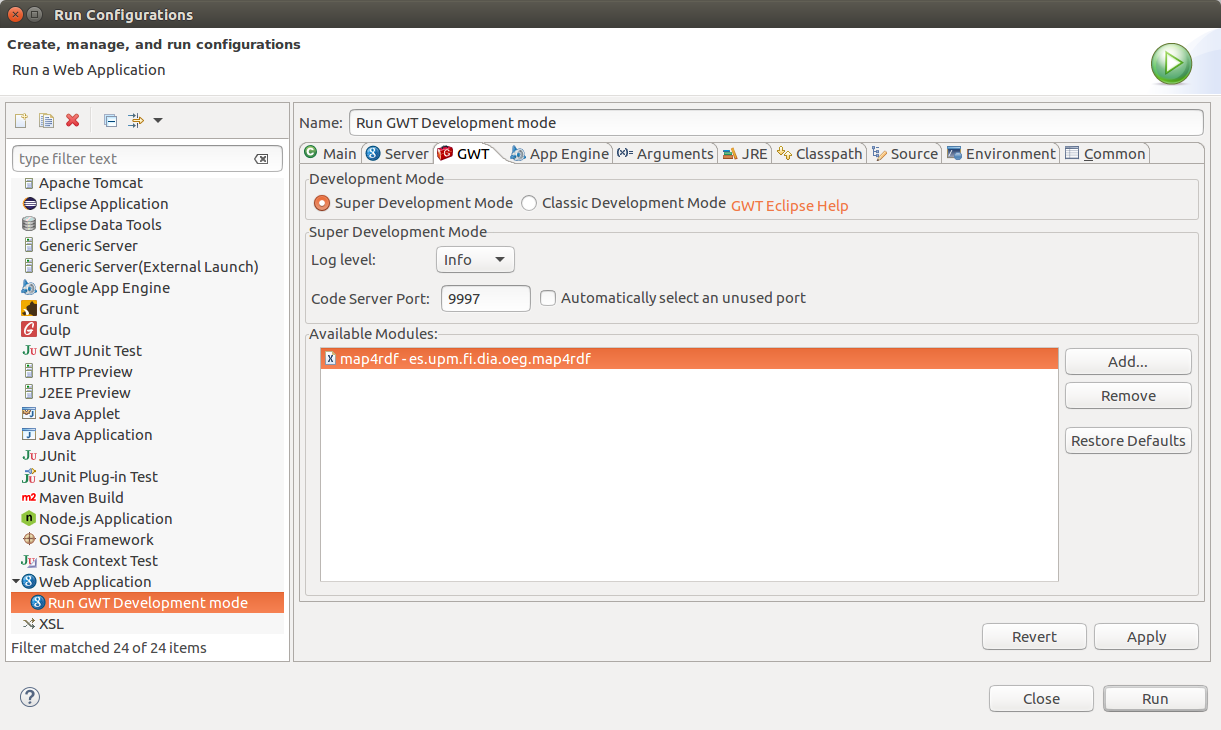 Click on "Arguments" tab. In "Program arguments" box put the next text (Replace <map4rdf_project_folder> with the absolute folder where the project is):
-superDevMode -war <map4rdf_project_folder>/target/webappDev -remoteUI "${gwt_remote_ui_server_port}:${unique_id}" -startupUrl indexDevelopment.jsp -logLevel INFO -codeServerPort 9997 -port 8888 es.upm.fi.dia.oeg.map4rdf.map4rdf
On the same tab, in "VW Arguments" put:
-Xmx1G -Xms512m
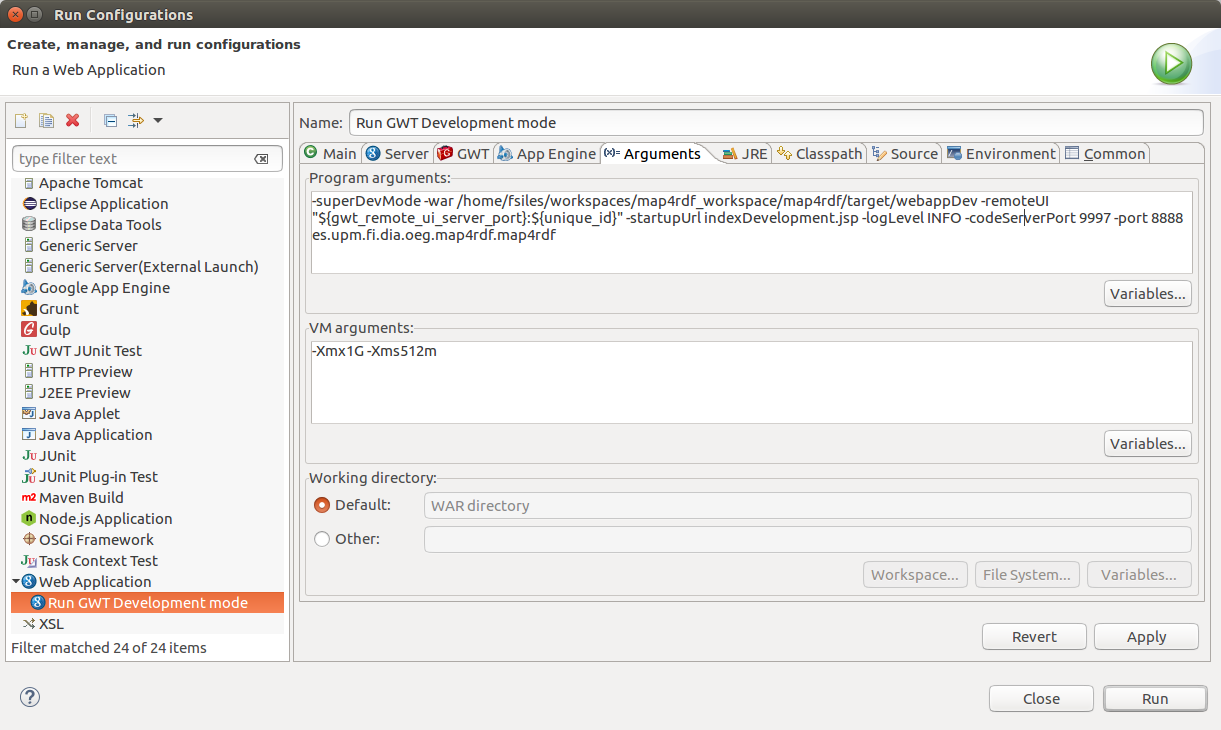
Them click on "Run" and you have your run configurations finished for developing Map4RDF.
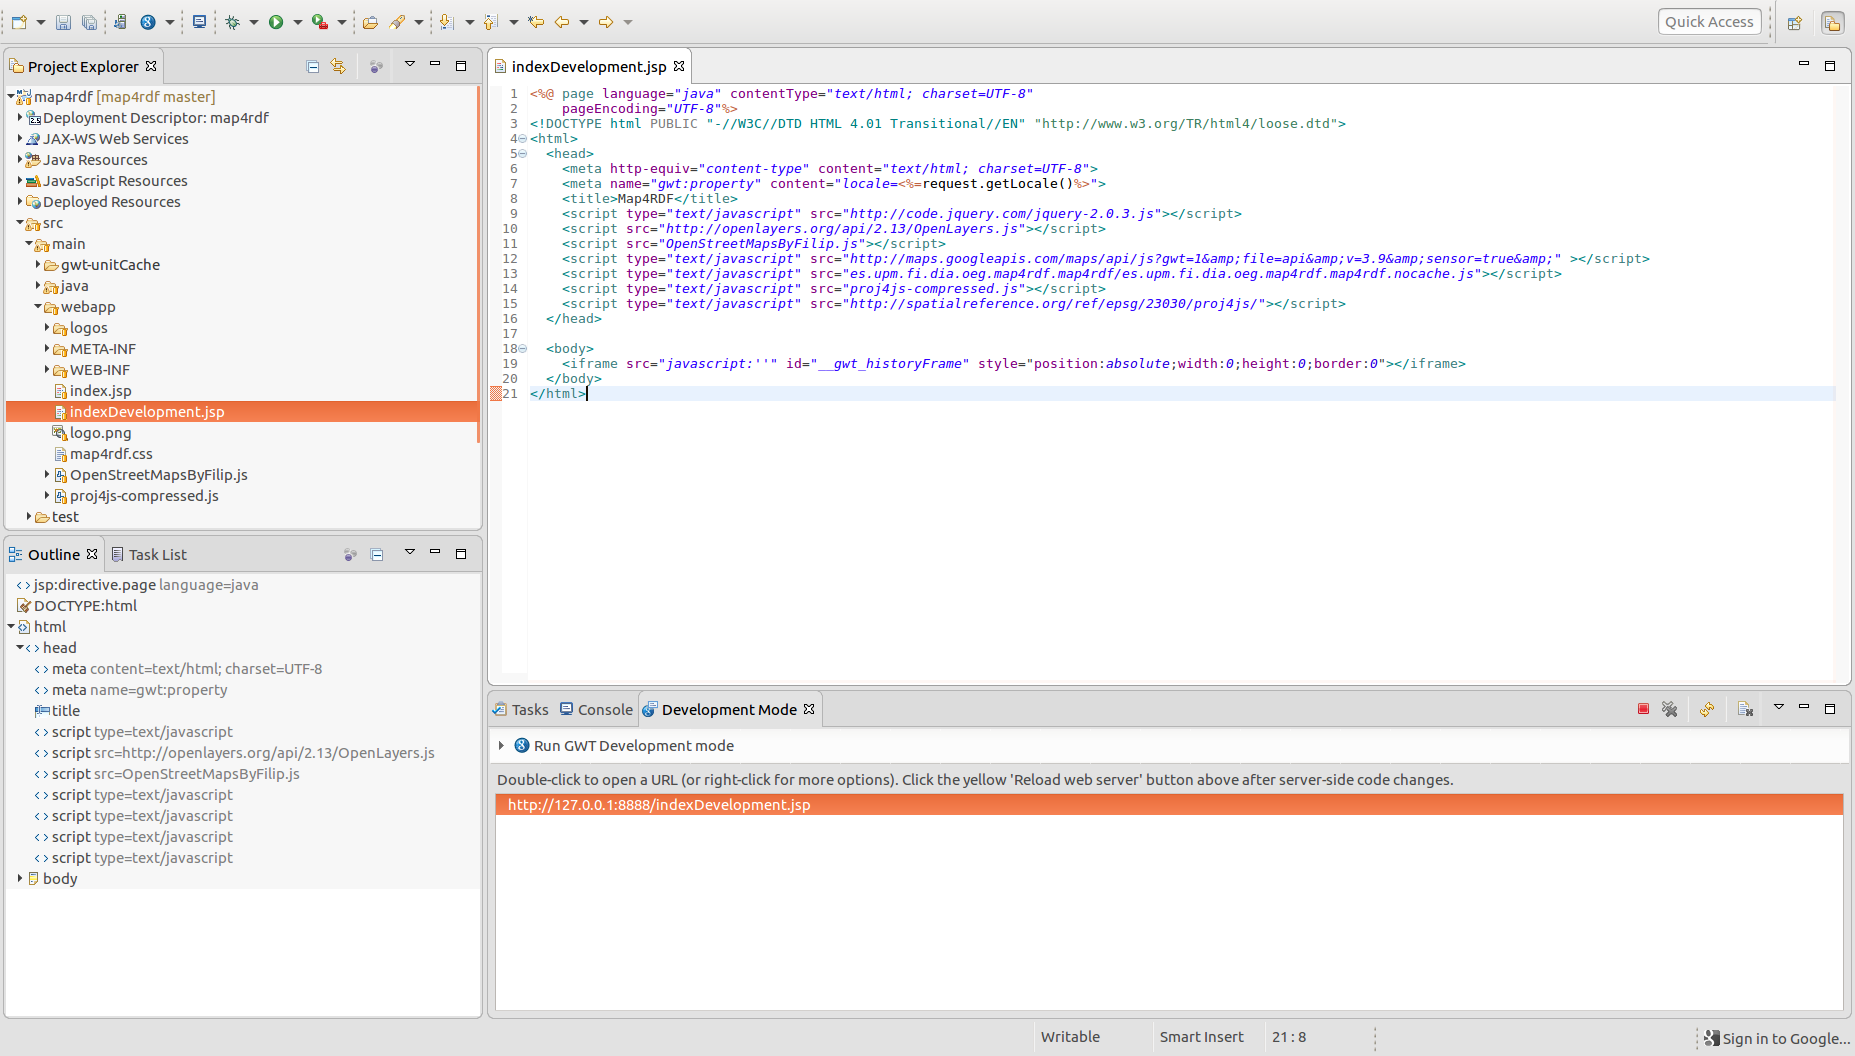
For see the webpage, visit the URL that appear on bottom "Development Mode" tab.
If you use your own geometry model and it is not available on Map4RDF, you can implement it easily.
- Implements Map4rdfDao:
On package "es.upm.fi.dia.oeg.map4rdf.server.dao.impl" create a new class that implements es.upm.fi.dia.oeg.map4rdf.server.dao.impl.Map4rdfDao
Dao implementation example:
public class MyOwnDaoImpl implements es.upm.fi.dia.oeg.map4rdf.server.dao.Map4rdfDao{
    //TODO: implements all methods (Inherited from the parent)
}
(you need to know Java and how to use Jena Library for SparQL Queries).
- Edit es.upm.fi.dia.oeg.map4rdf.server.conf.Constants
Add new enum to GeometryModel (for example):
...
GeometryModel { MY_OWN_ONT, others_models};
...
- Edit es.upm.fi.dia.oeg.map4rdf.server.inject.BrowserModule
Add to the switch a new case (for example):
...
case MY_OWN_ONT:
    return new MyOwnDaoImpl(endpointUri);
...
(Remember use the enum created on step 2 and the class created on step 1).
- Edit configuration properties file.
Edit the instance of configuration that you want to change and change the "geometry.model" parameter to the enum created on step 2. If you use other endpoint remember to change endpoint.url.generic or endpoint.url.geosparql parameters.
Example:
...
geometry.model =  MY_OWN_ONT
endpoint.url.generic = MY_ENDPOINT_URL
...